Firmware update
Four ways to update the firmware
The firmware is the software that runs on the sensor. We improve it continuously; an update brings bug fixes and new features. How you update it depends on how you can reach the sensor and what the sensor can do. The sensors of the Eco series are usually at a fixed location and are often only reachable via WiFi there – that is why the ways here are sorted by effort. Take the simplest one that works for your sensor.
| Way | You need | The sensor must be reachable via | |
|---|---|---|---|
| A | Update via ecosensors.cloud | just a browser, login to ecosensors.cloud | internet only |
| B | Update at the push of a button | just a browser in the same WiFi | WiFi only |
| C | Upload an update file in the web interface | browser in the same WiFi, update file | WiFi only |
| D | Update via USB cable | computer, USB cable, if necessary open the housing | USB (on site) |
Which way applies to my sensor?
Open the web interface and scroll down (point 3 in the picture above):
- Does your sensor's Status widget in the dashboard show the Update now button when the firmware is outdated? → Way A.
- Is there a "Firmware update" button in the sensor's web interface? → Way B.
- Is there an "OTA Update" section with Choose file and UPDATE? → Way C.
- Can you no longer reach the sensor in WiFi at all, or does an update fail permanently? → Way D.
- Does your sensor have a very old firmware (no “Firmware update” button, no firmware version in the dashboard)? → Convert a very old sensor.
The device documentation also states which way your sensor supports.
Ways A, B and C work "Over-the-Air" (OTA), i.e. wirelessly via the network – the sensor does not have to be removed, a browser is enough.
Before every update
- Check the installed version: In the web interface, EcoSensor FW Version shows the currently installed version. In the dashboard under Firmware (login required) you can see for each of your devices whether an update is available.
- Ensure power supply: Do not disconnect the sensor from power during the update and let it restart undisturbed afterwards (about a minute). For inverter sticks such as the EcoPVGX this means: only update in daylight.
- Choose the right variant: Some sensors are available with and without Home Assistant interface (-ha). Always install the variant that is already running on the sensor – otherwise you unintentionally change its behaviour (see also Home Assistant).
Way A: Update via ecosensors.cloud
Sensors that can update themselves (e.g. the EcoMBR1) can be updated directly through ecosensors.cloud: you trigger the update on the website, the sensor downloads the new firmware by itself and restarts. You need neither access to the sensor's web interface nor to be on the same WiFi – the sensor only has to be online and assigned to your account (registered). This is especially handy for sensors in exposed places.
- Open your dashboard and select the sensor.
- If the latest firmware is not installed, the Status widget shows the line "Firmware outdated: … installed, … available" at the top.
- Click Update now and confirm the prompt.
- Wait one to two minutes: the sensor downloads the firmware, installs it and restarts (it is briefly offline). The line disappears as soon as the sensor reports the new version.
The button appears only for your own sensors and only for sensors that can update themselves. Next to it, Show update leads to the Firmware page, which shows the installed and the current version for each of your devices. If the sensor is offline, use Way B, C or D.
Way B: Update at the push of a button
The sensor downloads the latest firmware itself from the internet and installs it. You do not have to download a file.
- Open the sensor's web interface (if an access password is set, log in).
- Press the "Firmware update" button.
- Wait one to two minutes. The sensor downloads the firmware, installs it and restarts. The web page is briefly unreachable during this.
- Reload the page and check under EcoSensor FW Version whether the new version is running.
The sensor needs internet access for this (not just WiFi). If it reports to the dashboard, this is the case.
If the latest version is already installed, nothing bad happens when you press it again – the sensor then simply installs it once more.
Way C: Upload an update file
Some sensors (e.g. EcoPVGX, EcoSPM) cannot update themselves. Here you download the update file yourself and hand it to the sensor via its web interface. For this you also need no USB connection, you only have to be in the same WiFi as the sensor.
1. Download the update file
- Log in to ecosensors.cloud and open the Firmware page.
- There you see the products of your devices, the installed and the current version. In the Downloads section, download the update file (file extension
.ota.bin) for the right variant.
The "Complete image (initial installation)" column is not the right file for this way. It is only needed when flashing via USB (Way D).
For advanced users: a checksum is shown for each file. With it you can check whether the download is complete and unmodified.
2. Transfer the file to the sensor
- Open the sensor's web interface (from the same WiFi) and scroll to OTA Update.
- Click Choose file and select the downloaded
.ota.bin. - Click UPDATE and wait until the transfer is complete and the sensor has restarted (approx. 1–2 minutes). Do not close the browser tab before that.
- Reload the page and check under EcoSensor FW Version whether the new version is running.
You can also do this update with your smartphone: the web interface (and the hot spot's configuration page, also there as OTA Update) works in the mobile browser.
If an OTA update fails (e.g. because the connection drops), the sensor usually simply keeps running with the old firmware. Then try again, preferably with better WiFi reception.
Way D: Update via USB
Only necessary if the sensor can no longer be reached via WiFi, an update via the web interface fails permanently, or an existing device is to be switched to our firmware for the first time. For this the sensor must be physically accessible, i.e. connected to a computer. For sensors that have been permanently mounted, this means: remove them.
How you connect the sensor to the computer and whether a housing has to be opened or a jumper set for this is device-specific – see the device documentation.
The installation via USB overwrites the entire firmware. All steps are at your own risk; if done incorrectly the device can become unusable. Only do it if Ways B and C are not possible.
-
On Firmware, download the complete image (initial installation) for your sensor and the right variant.
-
Connect the sensor to your computer via USB.
-
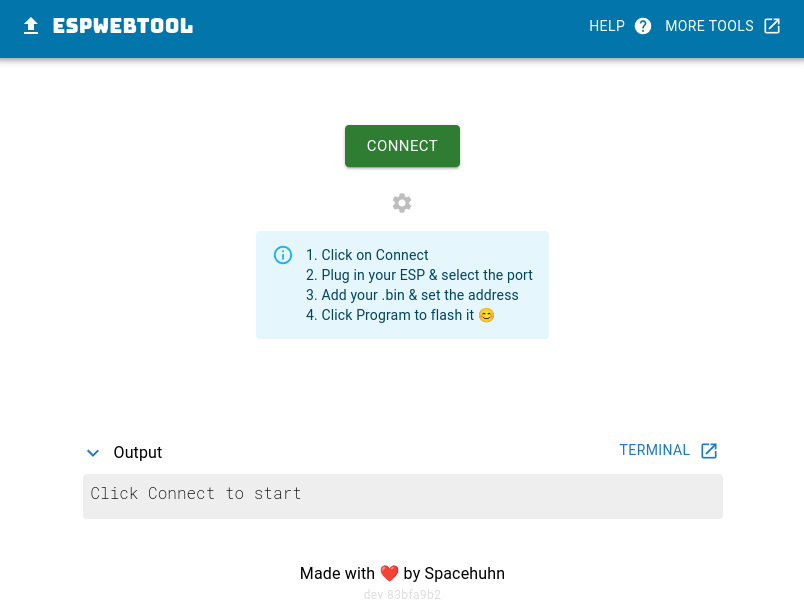
Open the ESP Web Tool in a Chromium-based browser (Chrome, Edge, Brave …). The tool runs entirely in the browser, you do not have to install anything.
-
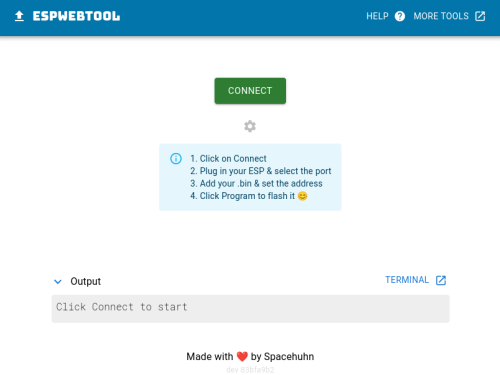
Click CONNECT and select the sensor's USB port.
-
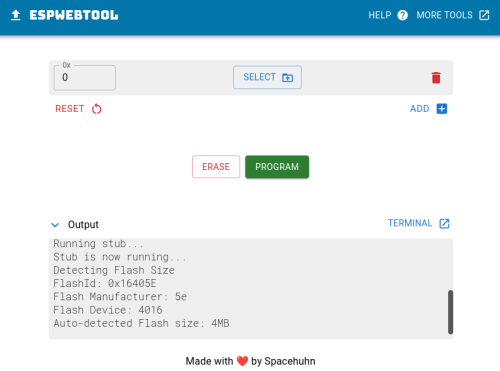
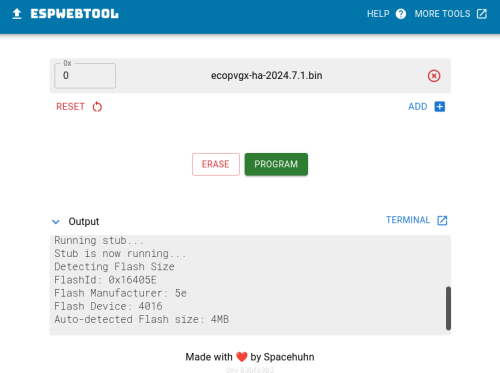
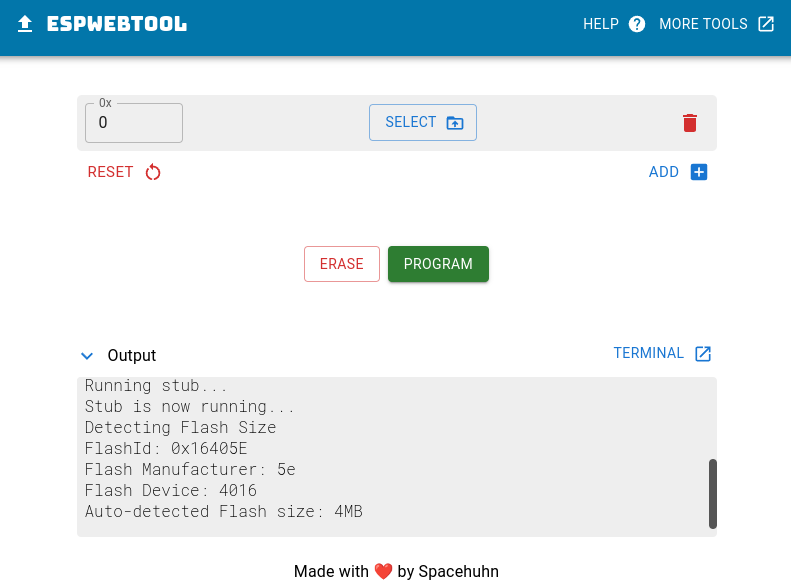
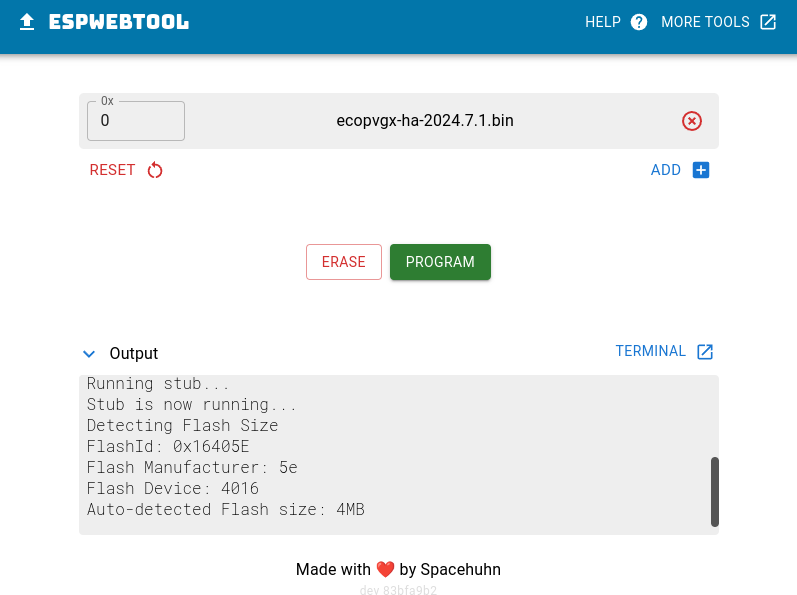
Use SELECT to choose the downloaded file. The address (field 0x) stays at 0. Then click PROGRAM.
-
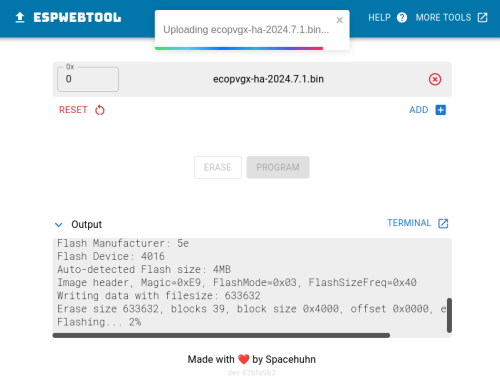
Wait until the progress reaches 100 %.
-
As soon as the tool reports Done!, disconnect the sensor from the computer and reconnect it to its normal power supply ("reset your device").
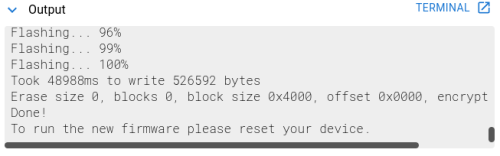
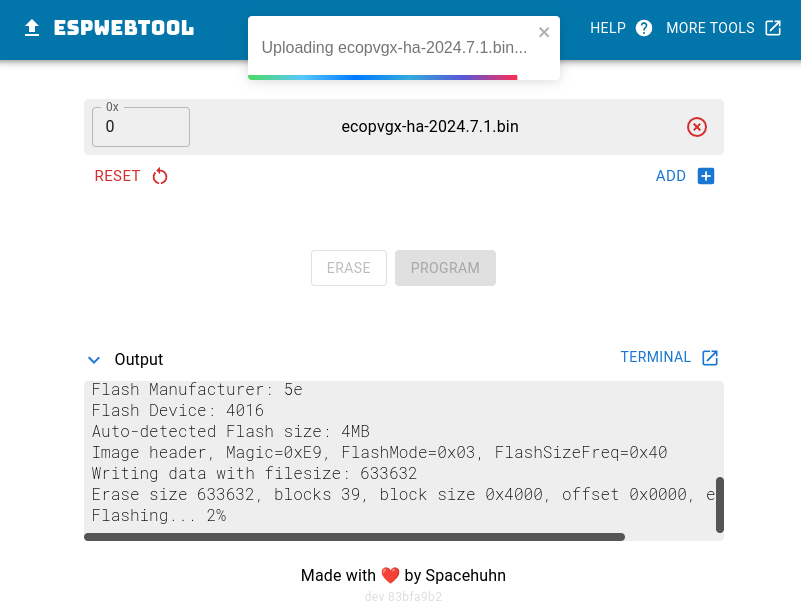
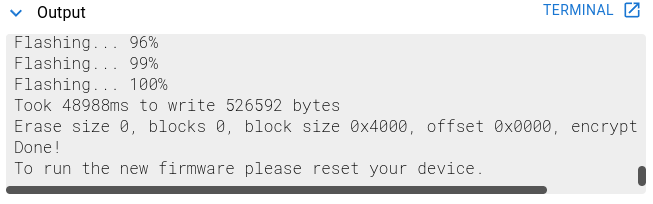
The sensor starts with the new firmware. Depending on its state it connects to your WiFi or opens its hot spot again – then start at Set up WiFi.
Convert a very old sensor to the current firmware
Applies to the EcoMBR1. Sensors that were delivered with a very early firmware have neither the access password nor the Firmware update button, and the dashboard only knows their ESPHome version, not the firmware version. That is why the status widget never shows Update now for them. You convert the sensor by hand once; after that all further updates run via Way A or Way B.
Beforehand:
- Find out which variant your sensor needs: which meter is connected (e.g. DTSU666, WE517), or none? With the wrong variant the sensor runs, but does not read the meter.
- Write down your settings (WiFi credentials, Tibber token, Modbus address of the meter). Via USB they are lost.
- Download the files under Firmware: for the EcoMBR1 expand Downloads. For your variant you need the update file (for step 1) and the complete image (initial installation) (for step 2).
Step 1: try WiFi first. If the sensor's web interface has an OTA Update section, proceed as in Way C and upload the update file. If the sensor then shows a current version under EcoSensor FW Version, you are done. If it fails or the section does not exist, the sensor usually keeps running with the old firmware. Do not repeat it; go to step 2.
Step 2: via USB. This is the safe way, because the sensor ends up in a clean state.
There is mains voltage on the board. Disconnect the sensor from the mains before you open the housing and connect the cable. All steps are at your own risk; if done incorrectly the device can become unusable.
- Disconnect the sensor from the mains and open the housing.
- Connect a USB serial adapter to the pin header 5V · TX · RX · GND · GND · IO0 (no. 3 in the picture under Connecting).
- The pin header has no reset line, so the adapter cannot put the sensor into flash mode by itself. Do it by hand: hold the IO0 button, press EN briefly, release IO0.
- Open the ESP Web Tool as in Way D, click CONNECT, select the port, select the complete image (address 0) and click PROGRAM.
- Wait for Done!, press EN, disconnect the adapter, close the housing and connect the sensor to the mains again.
Afterwards the sensor behaves like a new one. It no longer knows your WiFi and opens its hot spot:
- Set up WiFi.
- Set the access password. The user name is
admin. - Register the sensor with the device ID and the pairing code from the web interface.
- Enter your noted settings (Tibber token, Modbus address) again.
Finally check in the dashboard: the status widget shows the sensor as online, with a current firmware version and without a red password warning.